
How to Replace a Suitcase Wheel: A Practical Guide to a Quick DIY Repair
October 23, 2026
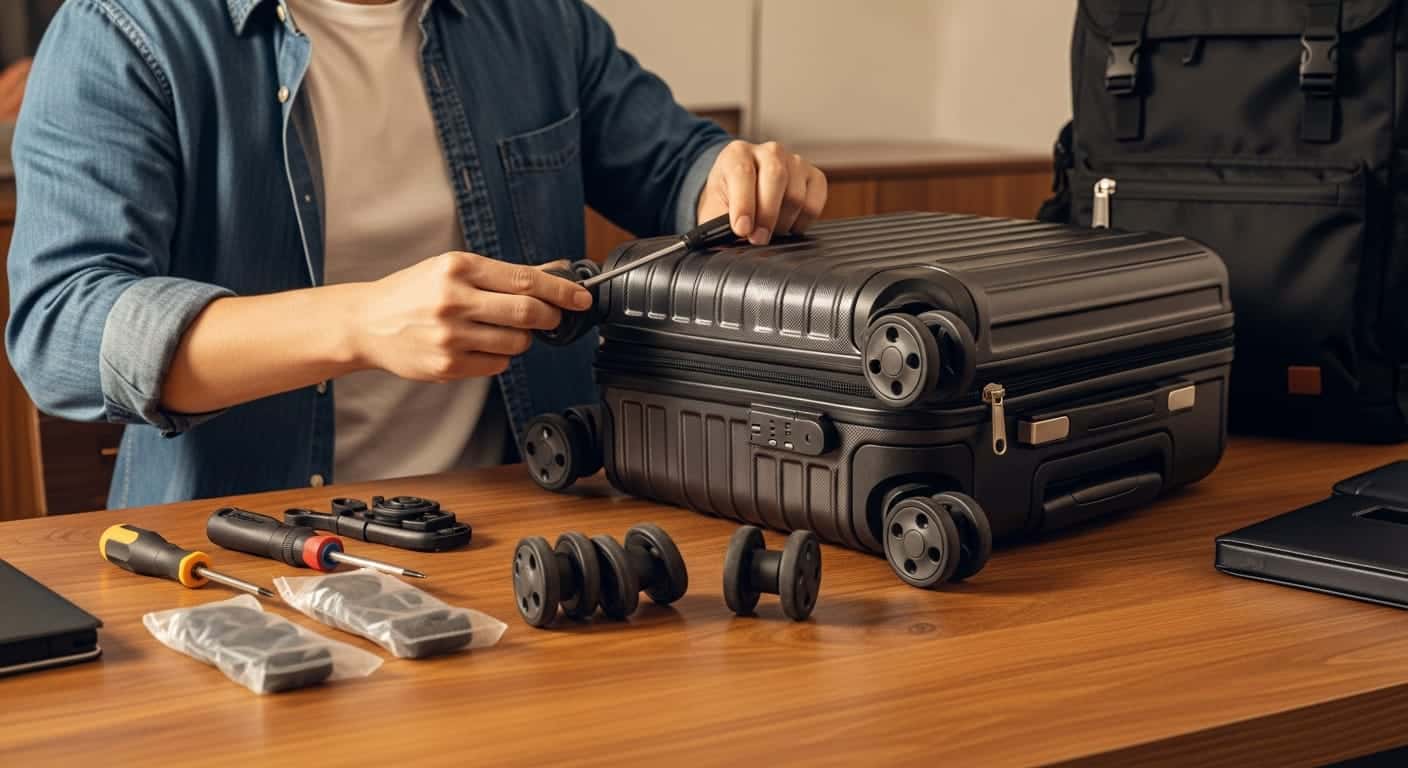
To replace a wheel on a suitcase, open the zipper in the inner lining to reach the wheel screws. Unscrew them (or drill out the rivets on older suitcases), remove the damaged wheel, fit the new replacement wheel and tighten it firmly in place with a suitable screwdriver or Allen key.
Nothing is more frustrating than a suitcase wheel that jams, wears down or simply breaks at the worst possible moment: in the middle of the terminal or on the way to the hotel over a rough European sidewalk. Wheels are the most vulnerable part of any suitcase, because they carry all the weight and absorb every shock from the ground. The good news is that a broken wheel doesn't mean you have to throw away a good suitcase. Here at Camel Mountain, with decades of family experience in travel gear since 1975, we know that a DIY repair is not only economical and environmentally friendly, but also much simpler than you think. In this guide we will show you exactly how to replace a suitcase wheel, step by step.
Tools and equipment you need to replace a wheel
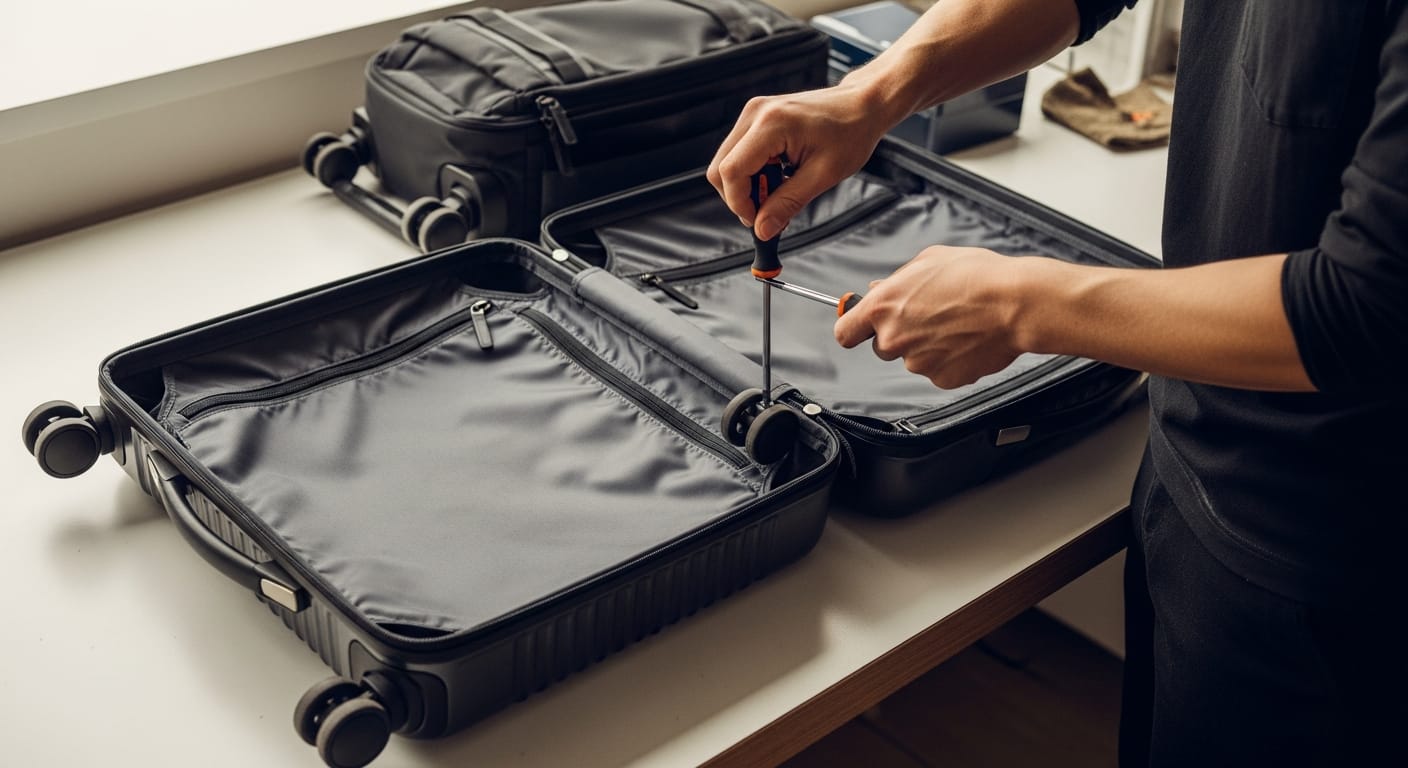
Before you start taking things apart, it is important to prepare the right tools. On most modern suitcases, the wheels are attached with standard screws, which makes the job especially simple. Here are the tools you will need:
- A set of screwdrivers: Phillips (cross) and flat-head screwdrivers in different sizes.
- Allen keys (hex keys): many suitcases use internal Allen screws to secure the wheel axle.
- Suitable replacement wheels: buy a set of wheels that matches your suitcase model exactly, or a quality universal set that includes axles of different lengths.
- A tape measure or caliper: to measure the diameter of the old wheel and the thickness of the axle before you buy.
- A drill and metal drill bits (optional): needed only when the old wheels are attached with permanent rivets rather than screws.
How to identify the type of wheel and order the right part
Before you order new wheels, you need to understand which type of wheel is fitted to your suitcase. A mistake in the size or type of attachment will stop you from completing the repair. Here is a comparison table to help you sort out the common types of wheels:
| Type of wheel | Main features | Difficulty to replace | Commonly found on |
|---|---|---|---|
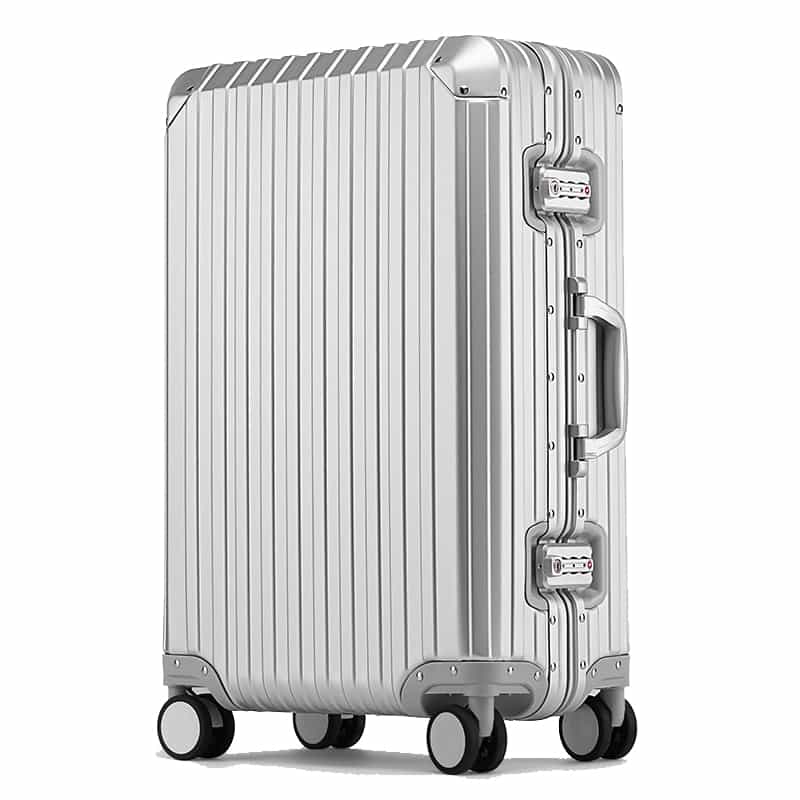
| Double spinner wheels (360°) | Two small wheels on one axle, turning in every direction, very smooth movement. | Easy (usually attached with internal screws) | Modern hard-shell suitcases and premium aluminum suitcases. |
| Single spinner wheels (360°) | A single wheel on a swiveling mount. Simpler but more prone to wear. | Easy to medium | Medium fabric suitcases and light fashion suitcases. |
| Built-in in-line wheels | Fixed wheels in the corners of the suitcase (like rollerblades). Roll only forward and back. | Medium to hard (sometimes requires drilling out rivets) | Semi-rigid suitcases, large travel bags and rolling laptop bags. |
Step-by-step guide: replacing a suitcase wheel (screw attachment)
If your suitcase uses a standard screw attachment (as most modern Camel Mountain models do), the process is remarkably simple and will take you less than 15 minutes per wheel:
Step 1: reach the internal attachment screws
Place the suitcase on a clean workbench or on the floor. Open the suitcase completely and find the maintenance zipper in the middle of the inner lining (a zipper without a pull tab, designed for exactly this purpose). Open it to expose the plastic back of the suitcase corners.
Step 2: remove the old wheel
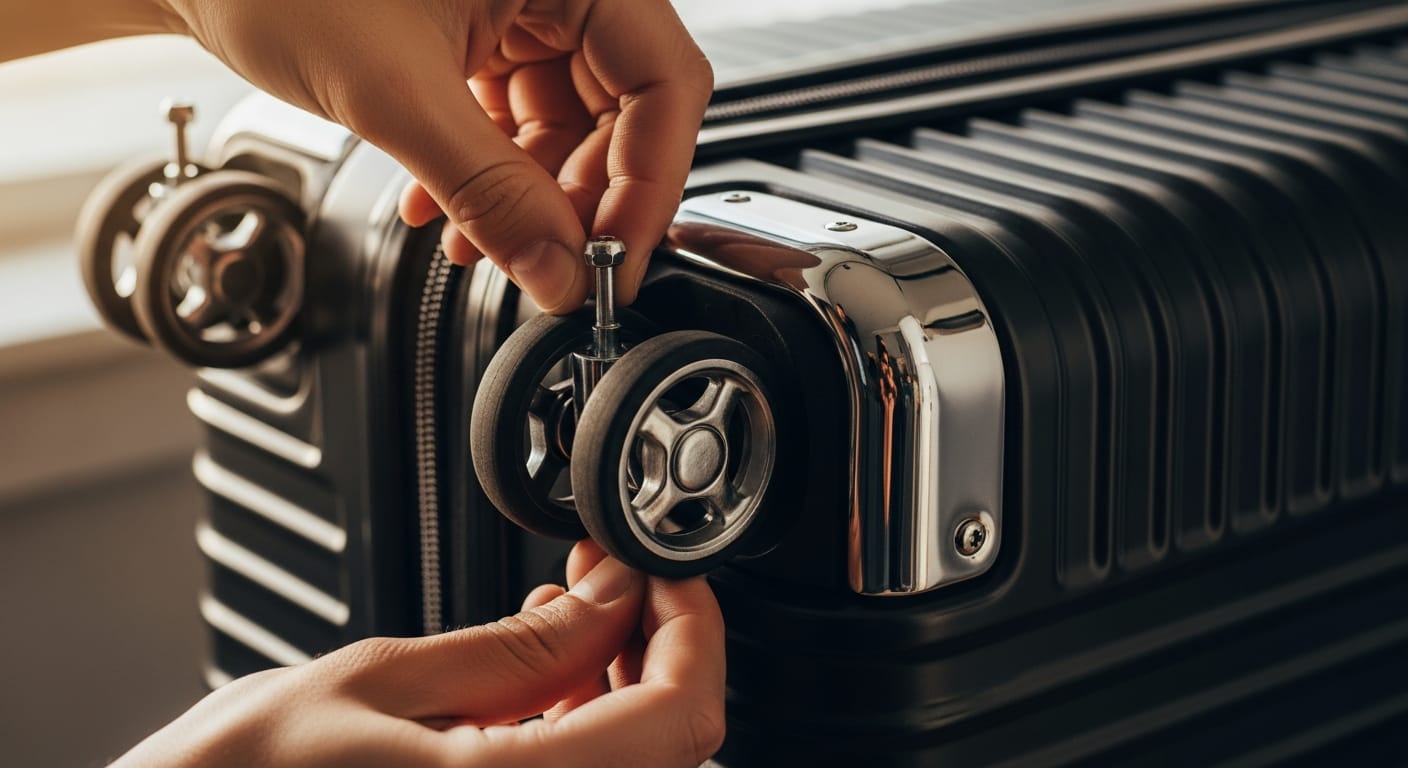
Inside the exposed corner, you will see the plastic wheel housing fastened to the suitcase body with 3 to 4 screws. Using a suitable Phillips screwdriver, unscrew them and set them aside. Once the screws are out, gently pull the whole wheel assembly away from the outside of the suitcase.
Step 3: clean the housing area
Before fitting the new wheel, take the opportunity to clean the area of dust, sand or fibers that have built up there during your travels. A simple damp cloth does the job well. Make sure the area is completely dry before fitting the new part.
Step 4: fit the new wheel
Take the new wheel assembly and slide it into place from the outside, lining up the screw holes in the housing with the holes in the suitcase body. From the inside, put the screws back and tighten them firmly. A tip from us: tighten the screws gradually and in a crisscross pattern to make sure the housing sits straight and completely flush.
What if the wheels are attached with rivets?
On older suitcases or certain models, manufacturers use permanent metal rivets instead of screws. Replacing a wheel in that case takes a bit more effort, but it is definitely possible at home:
- Drill out the rivet: use an electric drill with a metal bit matching the diameter of the rivet head. Drill gently straight into the center of the rivet until its head wears away and falls off.
- Remove the old axle: use a small hammer and a thin metal pin to push what is left of the rivet out of the wheel hole.
- Fit the new wheel with a replacement bolt: dedicated wheel repair kits come with special bolts and locknuts that replace the original rivet. Thread the bolt through the housing and the wheel, and tighten the nut with two Allen keys or a suitable wrench.
Tips for keeping suitcase wheels in good shape for longer
So you don't have to replace a suitcase wheel often, here are a few simple habits that will significantly extend the life of your wheels:
- Avoid dragging over especially hard surfaces: paving stones, gravel or bumpy roads create strong vibrations that wear the rubber of the wheel and loosen the screws. Where possible, lift the suitcase by the grab handle when crossing such places.
- Clean them periodically: human hair, pet fur and carpet fibers tend to wind around the wheel axles and slow them down. Every few trips, use tweezers or a utility knife to cut and remove dirt that has built up in the axles.
- Lubricate gently: a silicone spray or oil for delicate mechanisms (such as sewing machine oil) will keep them turning smoothly and prevent rust in the bearings. Avoid overusing classic WD-40, as it can attract more dust and dirt over time.
Products to help you on your way


Products in this guide

Frequently asked questions
How do I know which replacement wheel to order for my suitcase?
Measure the diameter of the existing wheel (in millimeters) and the width of the axle. It is also a good idea to photograph the outer plastic housing and compare it with pictures of spare parts online, since the shape of the housing must match the curve of your suitcase corner exactly.
Should I replace all four wheels at once?
If it is natural wear of the rubber, it is highly recommended to replace at least the pair on the same axle (for example, the two back wheels). Replacing just one wheel can unbalance the height of the suitcase and make the other wheels wear faster.
What do I do if the original screws are rusty or stripped and won't turn?
For a rusty screw or a stripped screw head, spray a little penetrating oil (such as WD-40) and wait a few minutes. If that doesn't help, you can use locking pliers to grip the screw head from the outside, or drill it out gently as you would with rivets.
Does replacing a wheel myself void the manufacturer's warranty?
With most companies, an unauthorized DIY repair can void the official warranty. However, if the suitcase is no longer under warranty, or the damage was caused by an airline (which is usually not covered by the warranty), a DIY repair is the quickest and most cost-effective solution.
What do I do if the wheel is attached with rivets and not screws?
In that case you will need a drill with a thin metal bit to drill out the center of the rivet and release it, or cut the center pin with a small hacksaw. Then replace the rivet with the dedicated bolt and nut that come with the new wheel kit.
What do I do if the wheel is stuck because of hair and dirt?
Before replacing it, try spraying a little WD-40 on the axle, wait a few minutes, then use tweezers, nail clippers or a utility knife to cut and pull out the hair and fibers stuck inside.


